Personal note: This article reflects my experience and is for educational purposes only—not official vendor guidance. Always verify procedures against current vendor documentation.
1. Objective and single-server architecture
The goal is to run Splunk Enterprise only on one Ubuntu VM. Splunk Enterprise provides the collection, indexing, search, and dashboard platform. Splunk Enterprise Security (ES) is a separate premium application and is not part of this build.
The lab data sources are two Windows machines, one Linux machine, and one FortiGate firewall. For this footprint, start with a single instance and expand only if measured performance or a new use case justifies it.
| Setting | Practical lab starting point |
|---|---|
| Operating system | Ubuntu Server 24.04 LTS, x86-64 |
| CPU | 8 vCPU (adjust to observed workload) |
| Memory | 16 GB RAM as an initial lab target, not an official minimum |
| Storage | 150 GB SSD, subject to retention and event volume |
| Deployment | One Splunk Enterprise instance |
| License target | 60-day Enterprise Trial, then optionally Splunk Free |
Hardware figures are pragmatic starting points for a small lab, not guaranteed sizing. Search workload, parsing, data-model apps, disk speed, and ingestion volume affect performance.
2. Prerequisites
- Ubuntu Server 24.04 LTS on a 64-bit x86-64 system. Current Splunk Enterprise 10.6 system requirements list Ubuntu 24.04 x86-64 as a supported platform; ARM is not supported for Splunk Enterprise.
- A Splunk.com account with access to the Enterprise download. The first launch activates the Enterprise Trial license by default.
- SSH or console access with sudo privileges, a stable IP address, and adequate free disk space.
- Network rules that allow only trusted lab clients to access Splunk Web and required ingestion ports. Do not expose management interfaces to the public internet.
sudo apt update
sudo apt install -y wget ca-certificates
uname -m
lsb_release -a
free -h
df -h /
Confirm uname -m returns x86_64. Record available disk and memory before installing.
3. Download the installer package
Use the official Splunk Enterprise download page to select the current Linux x86-64 package. Depending on the download option provided for the selected release, you may obtain a Debian .deb package or a compressed archive. Sign in if the download requires it.
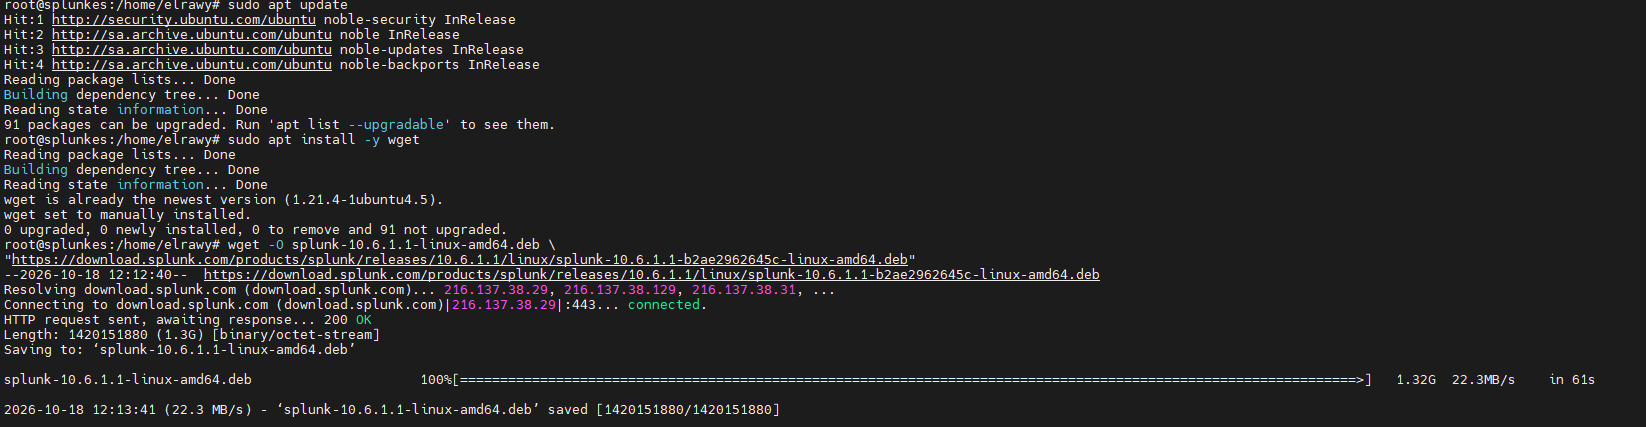
For the Debian package, transfer it to the Ubuntu host (for example, into /tmp) and install using its exact downloaded filename. The example below deliberately uses a placeholder: release URLs and filenames change, so do not copy an old version-specific URL blindly.
# Example after copying the downloaded .deb to /tmp:
sudo dpkg -i /tmp/splunk-ENTER-YOUR-DOWNLOADED-VERSION-linux-amd64.deb

# If dpkg reports missing package dependencies:
sudo apt-get -f install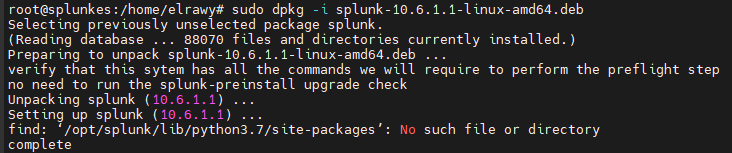
If you select the .tgz package instead, follow Splunk's official Linux installation instructions for the archive method. Do not mix instructions from different package types.
4. First start and initial setup
After installation, Splunk is normally located at /opt/splunk. Start it once and follow the prompts to accept the license and create the local administrator account:
sudo /opt/splunk/bin/splunk start --accept-license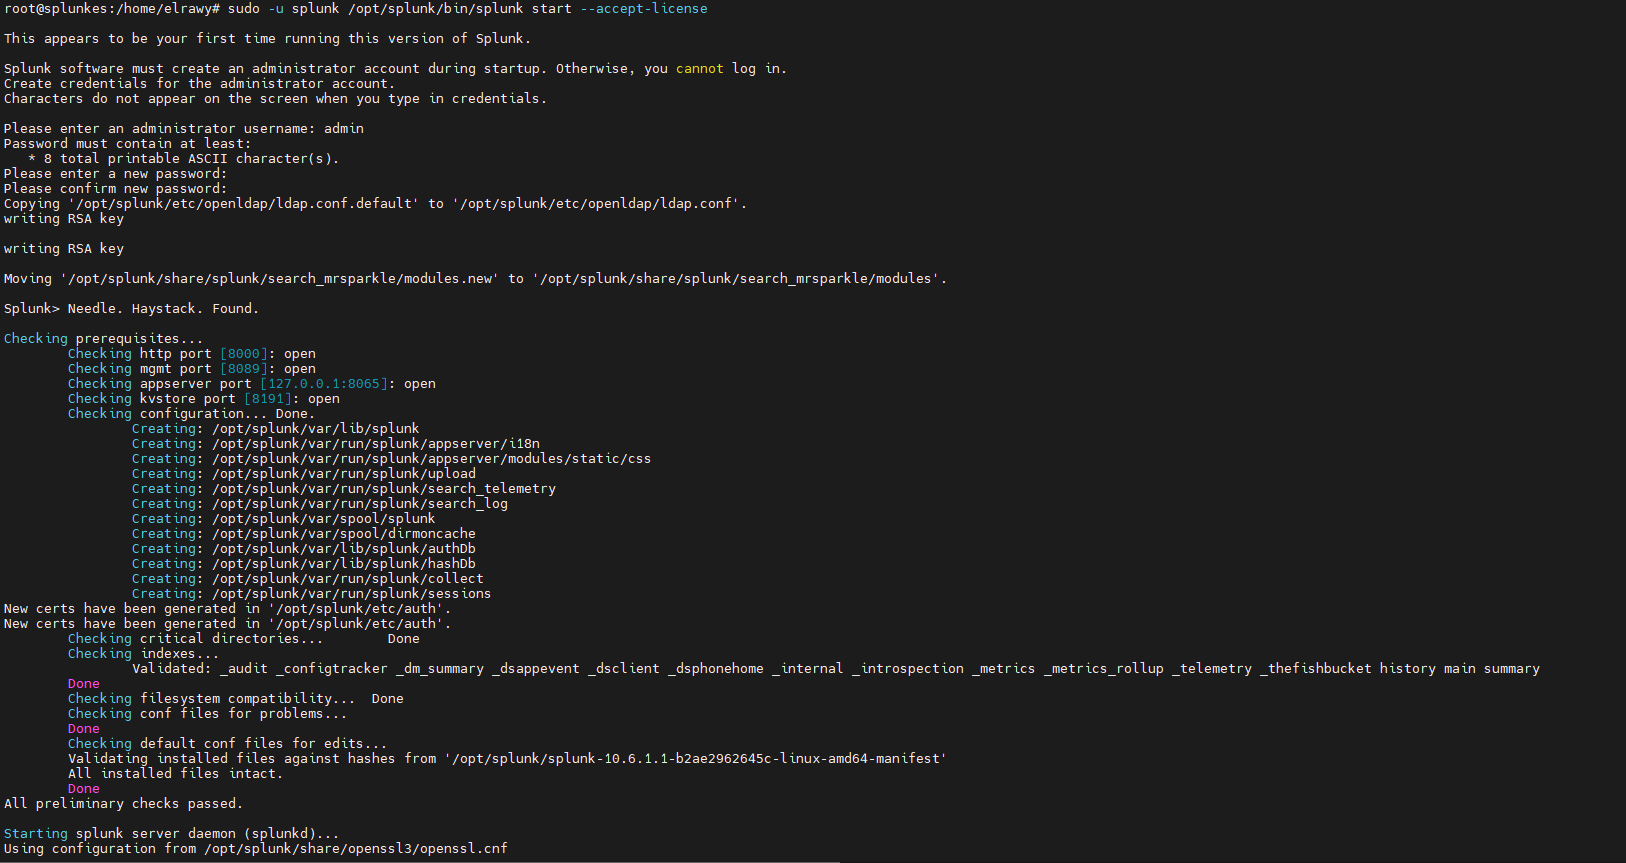

The commands used in this lab set the service account to splunk. Before applying ownership changes, first determine which account owns the existing installation and running process. Avoid recursively changing ownership while Splunk is running.
ps -eo user,pid,args | grep '[s]plunkd'
stat -c '%U:%G %n' /opt/splunk
getent passwd splunk
If you intentionally installed Splunk to run as a dedicated splunk account, use that account consistently for the service, files, and startup configuration. On a fresh lab install, ownership can be set before starting Splunk; for an already running installation, plan a controlled stop before changing ownership.
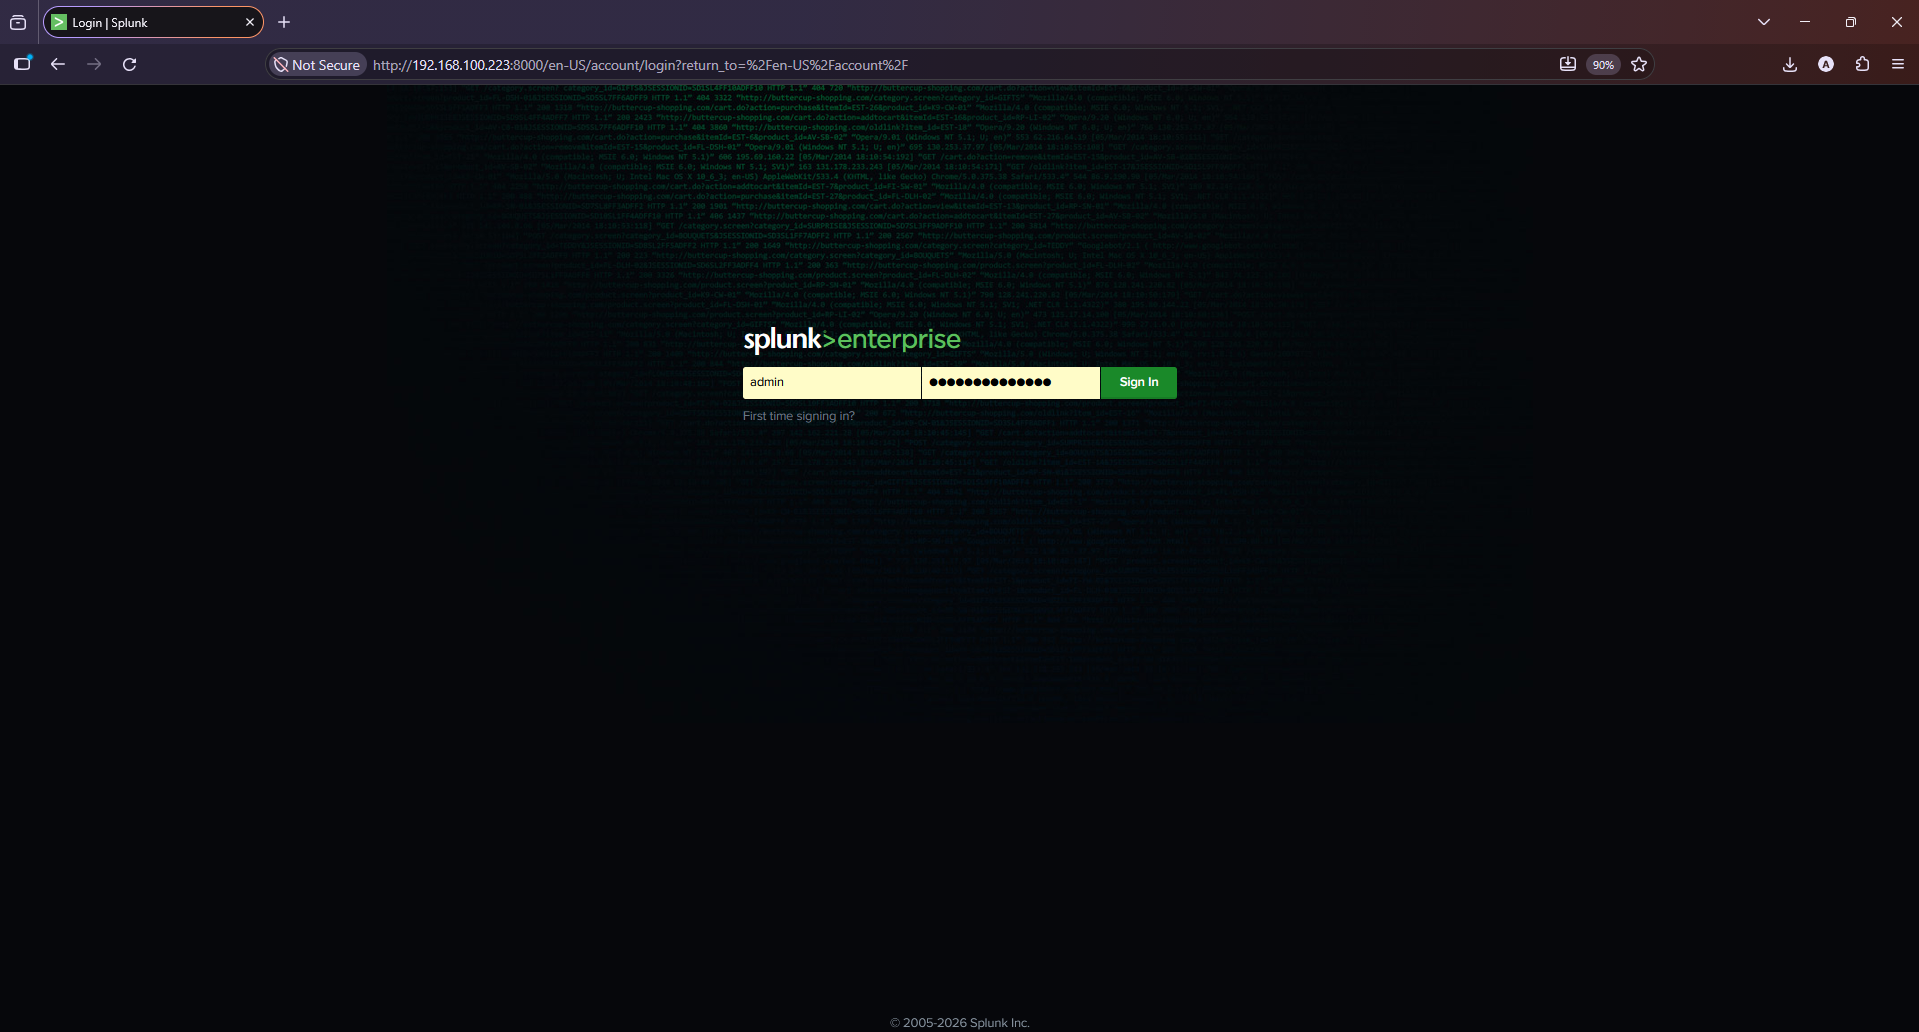
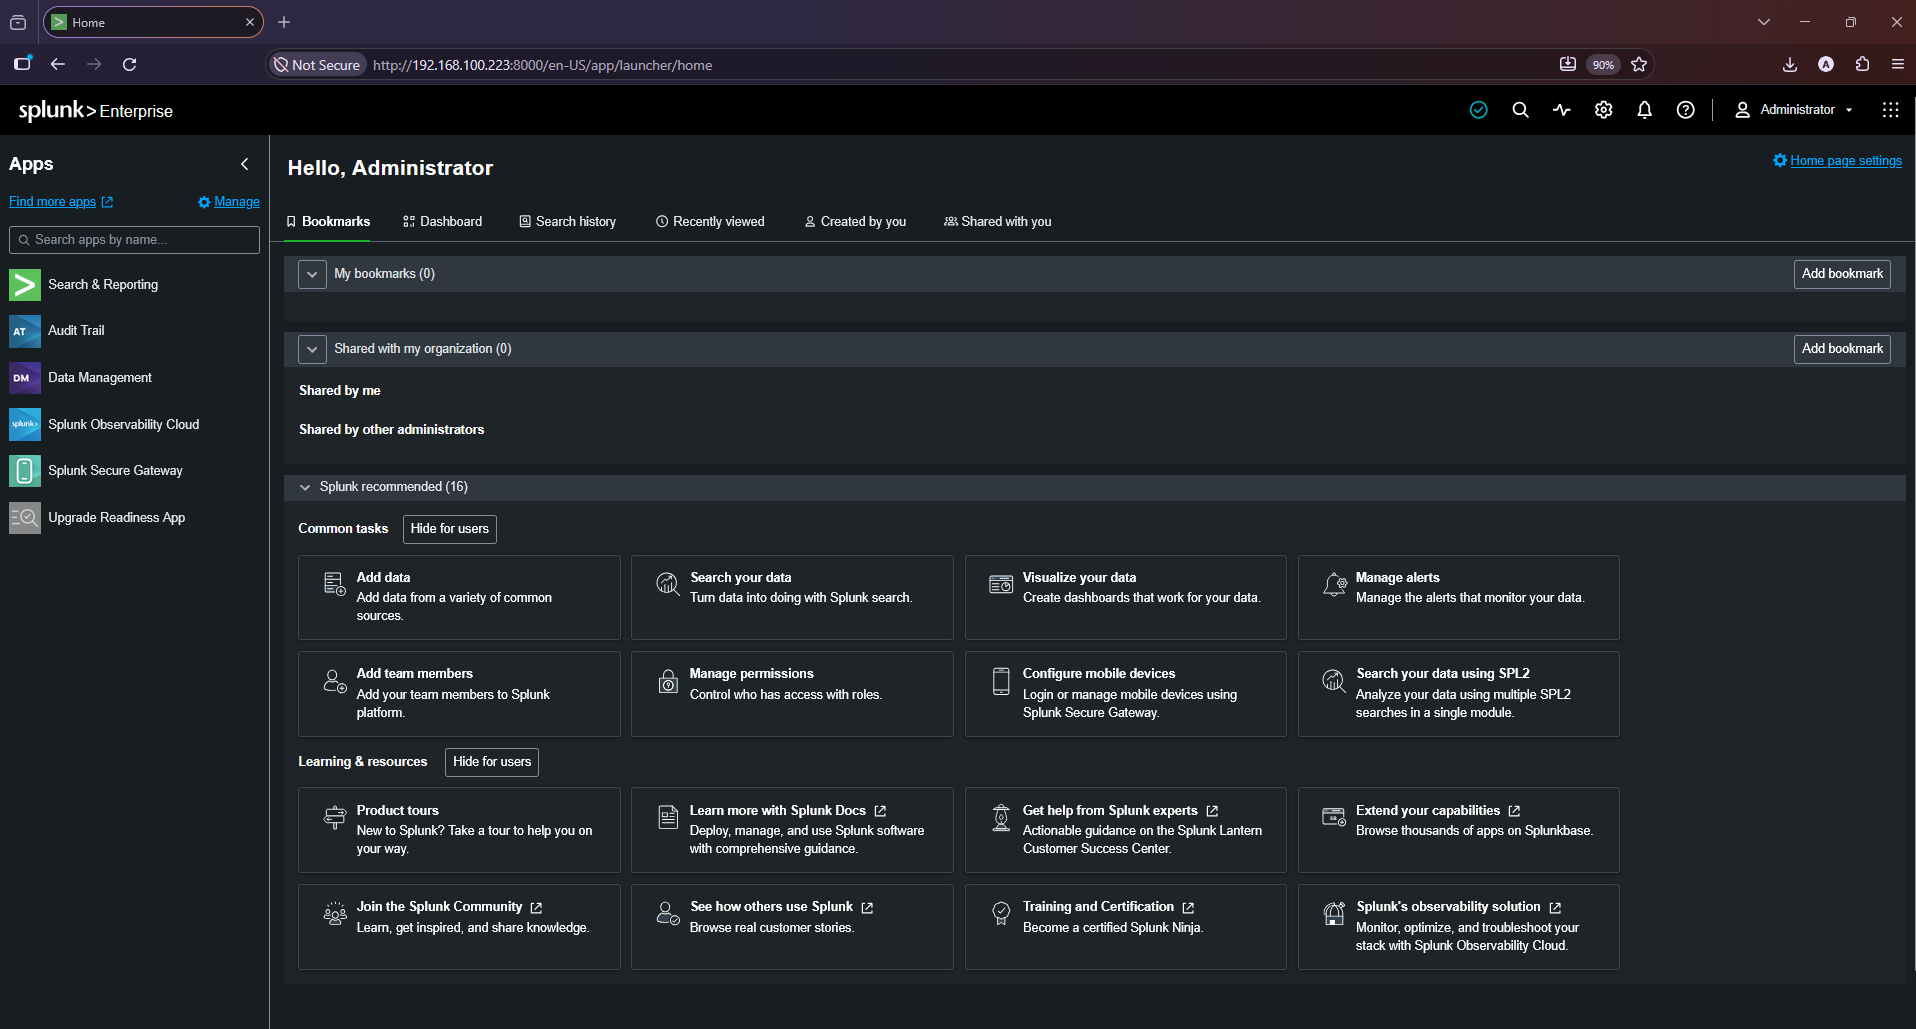
Open http://<UBUNTU_SERVER_IP>:8000 from a trusted lab workstation and sign in using the administrator credentials created at first start.
5. Configure systemd to start Splunk at boot
One issue observed during this lab was that systemctl status Splunkd.service returned “Unit Splunkd.service could not be found”, while the attempt to run enable boot-start said Splunk was still running. The missing unit file was consistent with boot-start not yet having been configured. Splunk documents that you must stop splunkd before running the systemd boot-start setup.
First stop the currently running service using the same OS account that manages the instance. If Splunk is run by the splunk account:
sudo -u splunk /opt/splunk/bin/splunk stopThen create the systemd unit. Run the command with sudo because it writes the unit under /etc/systemd/system:
sudo /opt/splunk/bin/splunk enable boot-start \
  -systemd-managed 1 \
  -user splunk \
  -group splunk
Splunk's current documentation says this creates /etc/systemd/system/Splunkd.service by default. Then reload systemd and enable the service:
sudo systemctl daemon-reload
sudo systemctl enable --now Splunkd.service
sudo systemctl status Splunkd.service --no-pager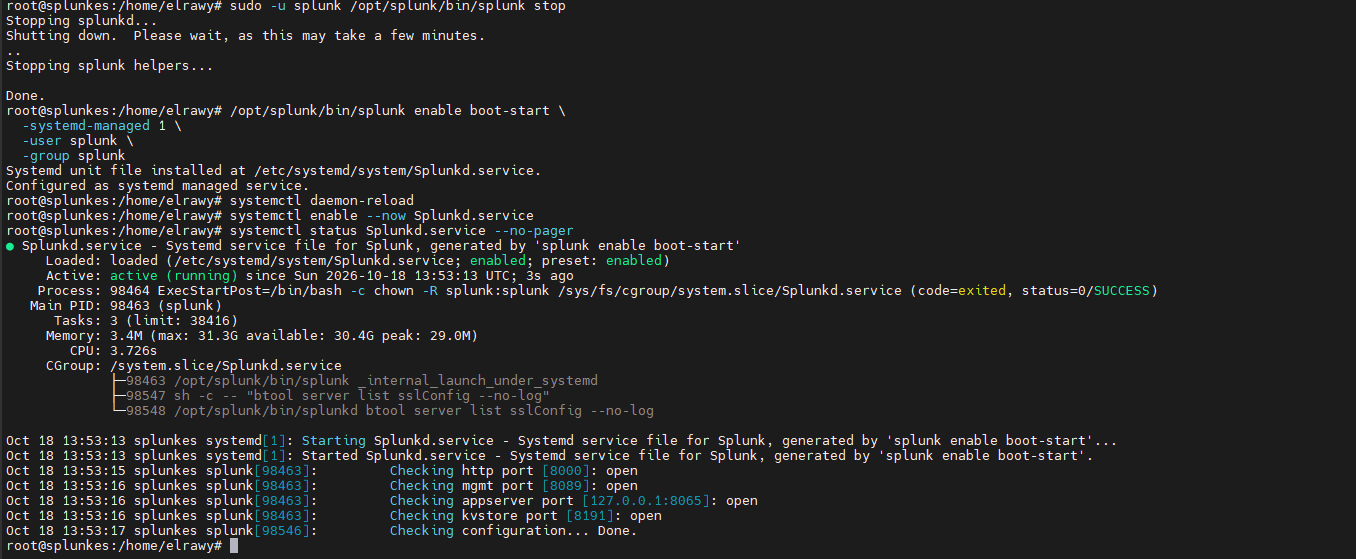
Expected validation: systemd reports the unit as loaded and active. If the stop command reports that the user cannot control the running instance, do not kill it immediately—inspect the process owner and use the matching OS account before retrying.
6. Known issues and troubleshooting
Issue: “please stop it before running enable/disable boot-start”
Meaning: Splunk detected that its process was still running. The boot-start registration step had not completed. Stop Splunk first, then execute the enable command.

Issue: “Unit Splunkd.service could not be found”
Meaning: systemd could not find a unit with that name. In the recorded sequence, enable boot-start had exited before creating it because Splunk was running. After stopping Splunk and successfully completing boot-start, reload systemd and check the unit name and status again.
Useful checks
sudo systemctl list-unit-files | grep -i splunk
sudo journalctl -u Splunkd.service -n 100 --no-pager
sudo -u splunk /opt/splunk/bin/splunk status
sudo ss -lntp | grep ':8000'
The conversation confirms the initial error output and the identified corrective sequence. It does not include a later command output proving the service became active, so this article describes the documented fix and expected validation rather than claiming a verified final result.
7. Use the 60-day Enterprise Trial, then optionally convert to Free
A new Splunk Enterprise installation includes a 60-day Enterprise Trial by default, with an indexing allowance of up to 500 MB per day. Splunk's Free license also permits up to 500 MB/day and does not expire, but it removes important functionality.
- During the trial, use Splunk Web to explore log ingestion, searches, dashboards, and supported Enterprise features.
- Before or after the trial expires, open Settings → Licensing → Change License Group.
- Select Free license, save the change, and restart Splunk when prompted.
Splunk Free disables alerting and removes user accounts, roles, and the login screen. Anyone who can reach the web UI can gain administrator-level access. Keep it on an isolated, trusted lab network and restrict port 8000. Free is suitable for learning search and ingestion, but not for an alert-driven SIEM workflow. Repeated license violations can also disable search.
For current restrictions and conversion steps, refer to Splunk's official About Splunk Free and Install your license documentation.
8. Next: onboard the lab data sources
| Source | Typical approach | Validation idea |
|---|---|---|
| Windows endpoint 1 and 2 | Splunk Universal Forwarder and selected Windows Event Logs | Search for the host and confirm recent security events arrive. |
| Linux host | Universal Forwarder or syslog, depending on the chosen data path | Confirm authentication and system logs are indexed. |
| FortiGate | Configure syslog forwarding to the Splunk listener or use a supported integration path | Verify source address, timestamps, and expected firewall event fields. |
Use Splunk's official documentation to configure the receiving input and endpoint forwarding. Do not open a listener to all networks by default; allow only your lab sources. Start by keeping the overall ingestion rate below the 500 MB/day trial and Free limit.
9. Official references
- Splunk Enterprise downloads
- Splunk Enterprise 10.6 system requirements
- Run Splunk Enterprise as a systemd service
- Install your license — 60-day trial details
- About Splunk Free and its limitations
Versioned documentation and available download files can change. Verify the package filename, supported operating system, and license behavior for the exact Splunk release you install. This guide is educational and does not replace vendor documentation or a production design review.
Building a Splunk lab or planning to onboard Windows, Linux, and FortiGate telemetry?
Connect to discuss Splunk deployment, log onboarding, search validation, and practical SIEM engineering.